AutoML: Where Artificial Intelligence meets Cloud Computing
How I trained an image classification Machine Learning model using Google Cloud AutoML Vision API


Part One: The introductory part about AutoML as a Cloud service
Artificial Intelligence, especially vis-à-vis machine learning, is becoming the next big thing in the tech community. Many say that by enabling business leaders to make more informed decisions, researchers to look at problems in new ways, and offering insights around the clock that no human could possibly contextualize alone, Artificial Intelligence is set to be one of humanity’s best allies in the future.
Now, although I tweeted this about ten months ago, it is interesting that to this day, discussions about feature engineering amongst Artificial Intelligence and Machine Learning experts usually revolve around the credence of difficulty and how exhausting it tends to be. However, it is one of the most crucial tasks and plays a major role in determining the outcome of a Machine Learning model. Come to think of it, wouldn't life be a boatload easier if there existed a way to abstract the stress that comes with feature engineering and by extension, the machine learning workflow? That is where Automated Machine Learning (AutoML) comes in.
AutoML is a set of very versatile tools that automate the machine learning process in an end-to-end manner, in order to produce simple solutions and faster creation of these solution and models. Although AutoML can be done locally using a neural architecture search, which usually goes through all the phases of ML development in a systematic way until the model is trained, it is worthy of note that one of the easiest ways to use AutoML is by using a cloud service.
The general consensus is that cloud computing, which involves the delivery of different services through the internet, by virtue of its prowess will continue to grow in the future and provide many benefits. Most times, Cloud Computing models are divided into three types - Infrastructure as a Service (IaaS), Platform as a Service (PaaS) and Software as a Service (SaaS). In my opinion, this classification misses a rather important model of cloud computing, Machine Learning as a Service (MLaaS). Machine learning as a service (MLaaS) is an umbrella definition of various cloud-based platforms that cover most machine learning infrastructure issues such as data pre-processing, model training, and model evaluation, with further prediction. AutoML which automates the entire Machine Learning workflow falls under Machine Learning as a Service.
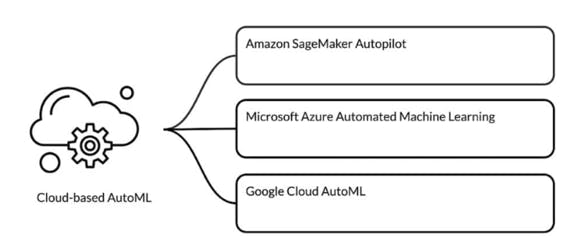
Amazon SageMaker Autopilot, Microsoft Azure Automated Machine Learning and Google Cloud AutoML are the three leading AutoML cloud services that allow for fast model training and deployment.
- Amazon SageMaker Autopilot
A subdivision of Amazon Web Services (AWS), this automatically trains and tunes the best machine learnng models for classification or regression based on the given data, whilst allowing users maintain full control and visibility.
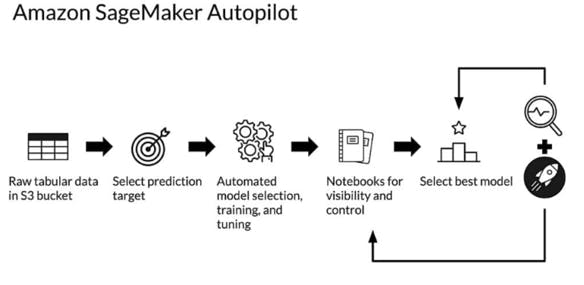
Starting with users' raw data, users can select a label or target. Autopilot then searches for candidate models for users to review and choose from. All of these steps are documented on executable notebools that give users full control and reproductibility of the process. This includes a leaderboard of model candidates to help users select the best model for their needs.
- Microsoft Azure Automated Machine Learning
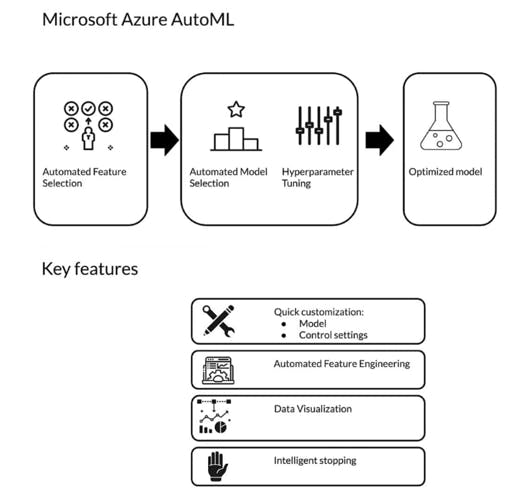
As a Microsoft Learn Student Ambassador, this particular service piques my interest. In line with the aim to empower professional and non-professional machine learning engineers to build machine learning models rapidly, Microsoft Azure Automated Machine Learning services starts with automatic feature selection, followed by model selection and hyperparameter tuning on the selected model to generate the most optimized model for the task at hand. Users can either create models using a no-code UI or using code-first notebooks. Users can also quickly customize their model, apply control settings to iterations, validations, thresholds, validations, blocked algorithms and other experimental criteria.
- Google Cloud AutoML
Google Cloud AutoML is a suite of Machine Learning products that enables developers with limited machine learning expertise to train high-quality models specific to their business needs. It relies on Google, a state-of-the-art transfer learning and neural architecture search technologies.
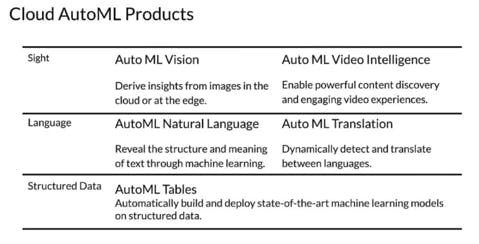
The important point to note is that Cloud AutoML is not just one thing. It is a suite of different products, each focused towards particular use cases and data types. For example, for image data, there's AutoML vision and for video data, there's AutoML Video Intelligence. For natural language, there's AutoML natural language and for translation, there's AutoML translation. Finally, for general structured data, there's AutoML Tables.
As in the instance given below, users can use Cloud AutoML to train, evaluate, improve and deploy models based on the available data. Hence, within a few minutes, I used Google Cloud AutoML for my own custom machine learning model, as explained below.
Part Two - The part where I classified images of clouds using Google Cloud AutoML Vision
AutoML Vision helps developers with limited ML expertise train high quality image recognition models. I used AutoML to classify images of the cloud using Google Cloud AutoML vision. Here is a step-by-step explanation of how I did that.
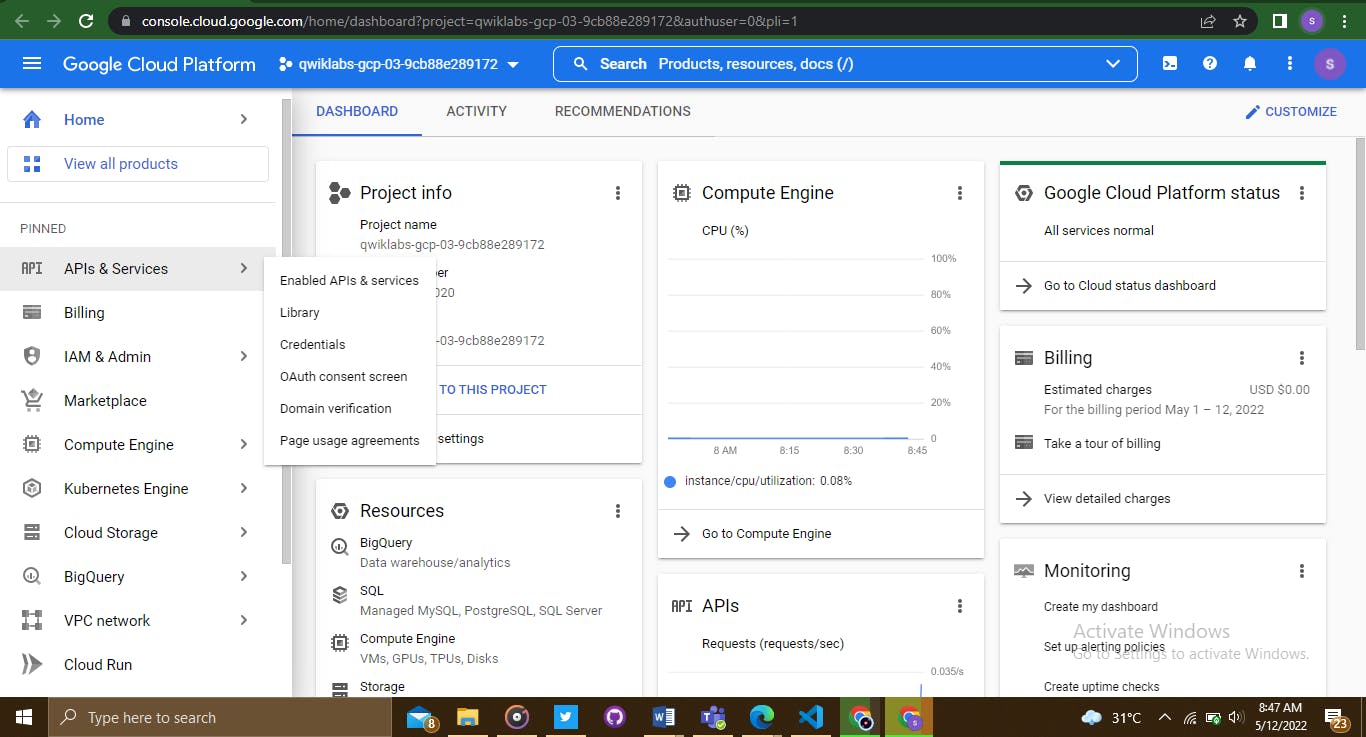
Here is the Google Cloud Platform's dashboard. The first step I took was logging into the platform.
Since AutoML Vision provides an interface for all the steps in training an image classification model and generating predictions on it, I started by enabling the Cloud AutoML API.
From the
Navigationmenu, I selectedAPIs & Services>Library.
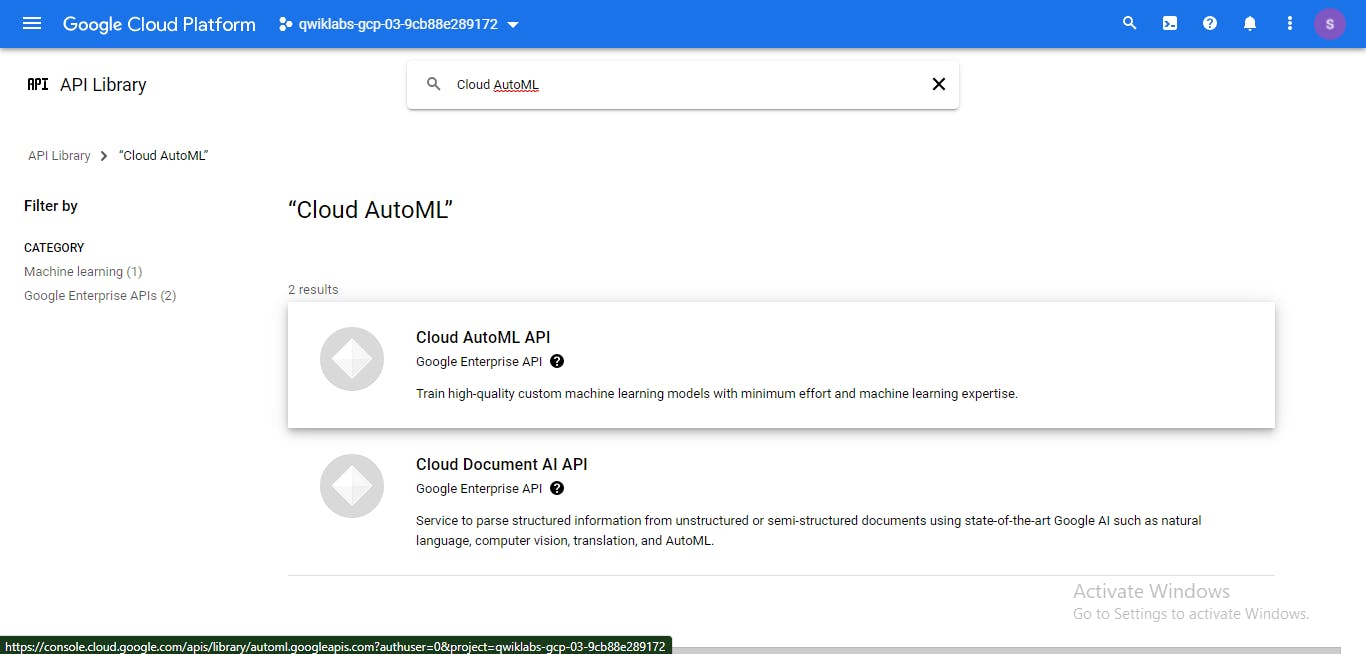
- In the search bar, I typed in "Cloud AutoML", then clicked on the
Cloud AutoML APIresult and then clickedEnable.
This took about a minute to set up.
- Thereafter, I opened this AutoML UI link in a new browser.
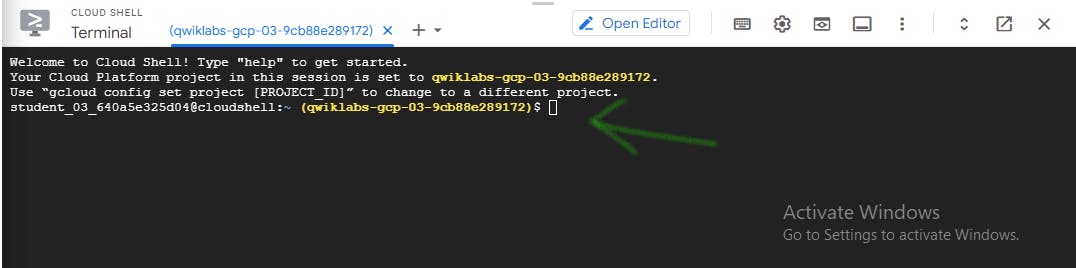
The next step was to activate Cloud Shell.
Cloud Shell is a virtual machine that is loaded with development tools. It offers a persistent 5GB home directory and runs on the Google Cloud. Cloud Shell provides command-line access to the Google Cloud resources.
- In the Cloud Console, by the top right toolbar, I clicked the
Activate Cloud Shellbutton.

- I then clicked
Continue.
It took a few moments to connect to the environment.
When connected, by default, I was already authenticated, and the project was set to my PROJECT_ID.
Note: gcloud is the command-line tool for Google Cloud. It comes pre-installed on Cloud Shell and supports tab-completion. For full documentation of gcloud, see the gcloud command-line tool overview.
- In Cloud Shell, I used the following commands to create environment variables
export PROJECT_ID=$DEVSHELL_PROJECT_ID
export QWIKLABS_USERNAME=<USERNAME>
- I then ran the following command to give AutoML permissions:
gcloud projects add-iam-policy-binding $PROJECT_ID \
    --member="user:$QWIKLABS_USERNAME" \
    --role="roles/automl.admin"
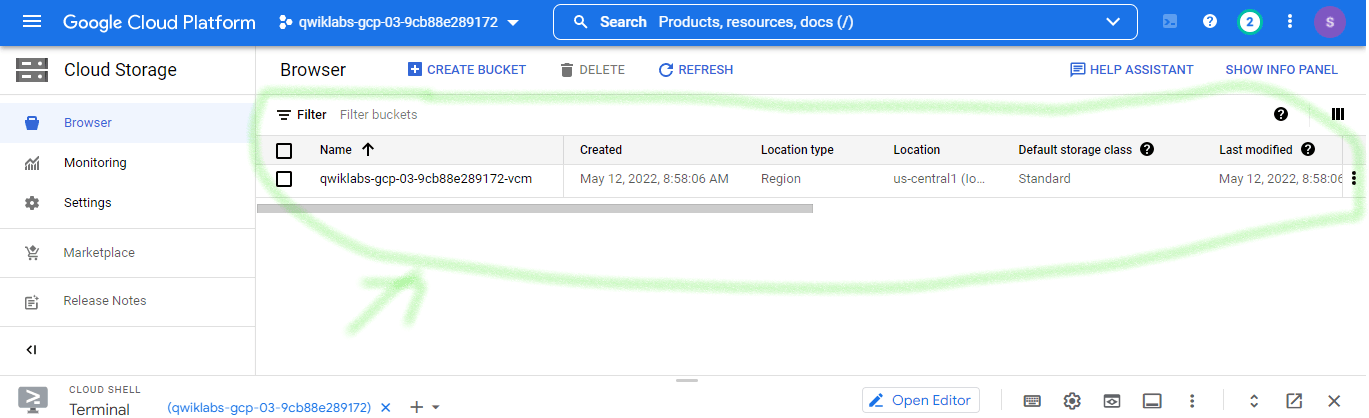
- Thereafter, I created a storage bucket by running the following:
gsutil mb -p $PROJECT_ID \
    -c standard    \
    -l us-central1 \
    gs://$PROJECT_ID-vcm/
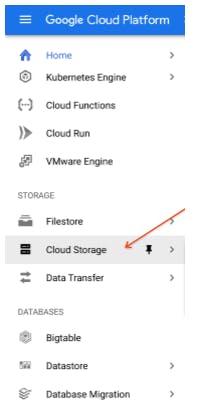
- In the Google Cloud console, I opened the
Navigation menuand clicked onCloud Storageto see it.
The next task was uploading training images to the Cloud Storage.
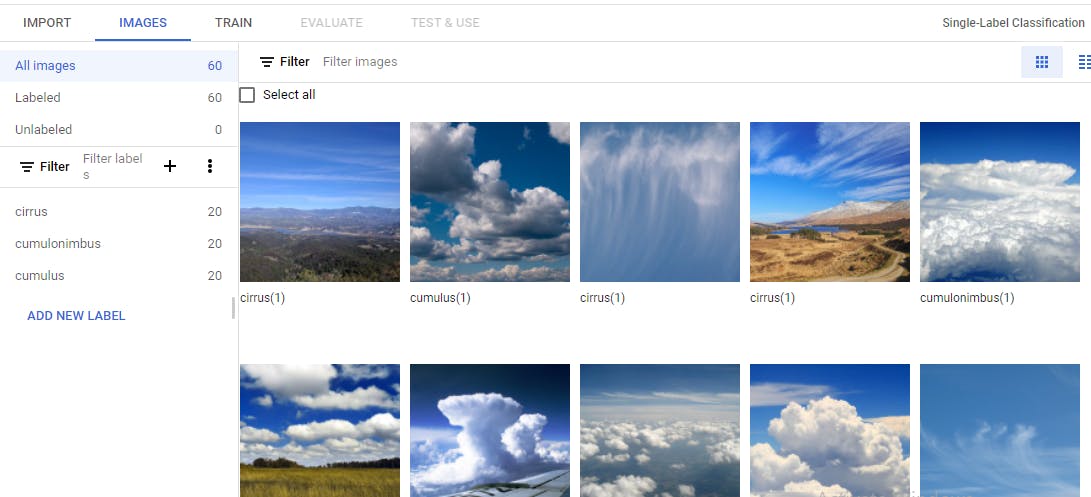
The specific classification ML model is built was to classify images of clouds. I knew that I needed to provide labeled training data so the model can develop an understanding of the image features associated with different types of clouds. In this instance, my model learnt to classify three different types of clouds: cirrus, cumulus, and cumulonimbus. To use AutoML Vision, I also figured that I needed to put the training images in Cloud Storage.
- However, before adding the cloud images, I created an environment variable with the name of the bucket by running the following command in Cloud Shell:
export BUCKET=$PROJECT_ID-vcm
Note: The training images are publicly available in a Cloud Storage bucket.
- I then used the
gsutilcommand line utility for Cloud Storage to copy the training images into the bucket:
gsutil -m cp -r gs://spls/gsp223/images/* gs://${BUCKET}
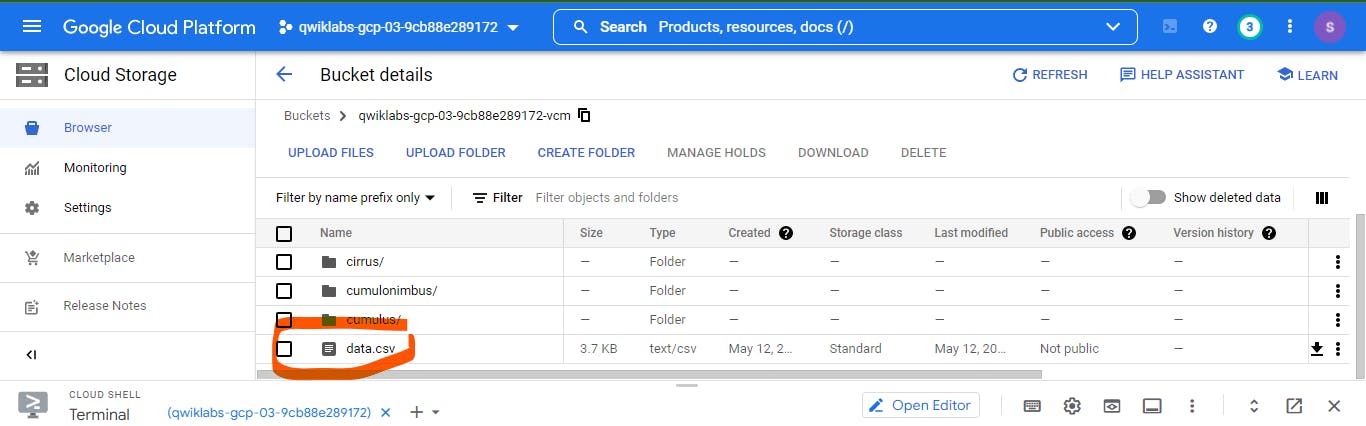
- When the images finished copying, I clicked the
Refreshbutton at the top of the Storage browser and then clicked on the bucket name.
Three folders of photos for each of the 3 different cloud types to be classified then came up.

Note: If I had clicked on the individual image files in each folder, I would have seen the photos I used to train my model for each type of cloud.
The next task was creating a dataset.
Since my training data is now in Cloud Storage, I needed a way for AutoML Vision to access it. I created a CSV file where each row contains a URL to a training image and the associated label for that image. By virtue of me downloading the dataset from source, this CSV file had been created for me; I just needed to update it with my bucket name.
- I then ran the following command to copy the file to my Cloud Shell instance:
gsutil cp gs://spls/gsp223/data.csv .
- Thereafter, I updated the CSV with the files in my project:
sed -i -e "s/placeholder/${BUCKET}/g" ./data.csv
- And then, I uploaded this file to my Cloud Storage bucket:
gsutil cp ./data.csv gs://${BUCKET}
- Once the command was completed, I clicked the
Refreshbutton at the top of the Storage browser and confirmed that I saw thedata.csvfile in my bucket.
- I navigated back to the AutoML Vision dataset tab.
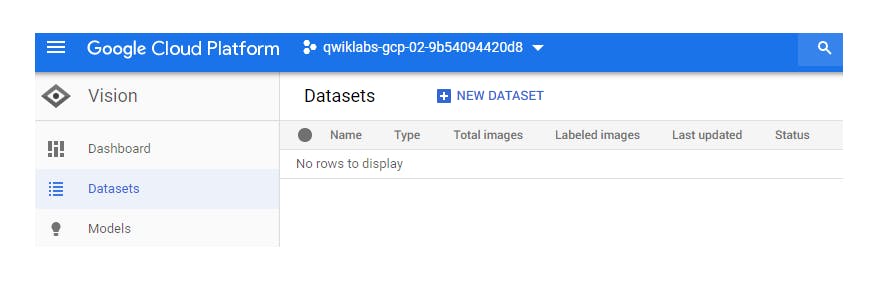
At the top of the console, I clicked +
NEW DATASET.I typed "clouds" for the Dataset name.
I selected "Single-Label Classification".
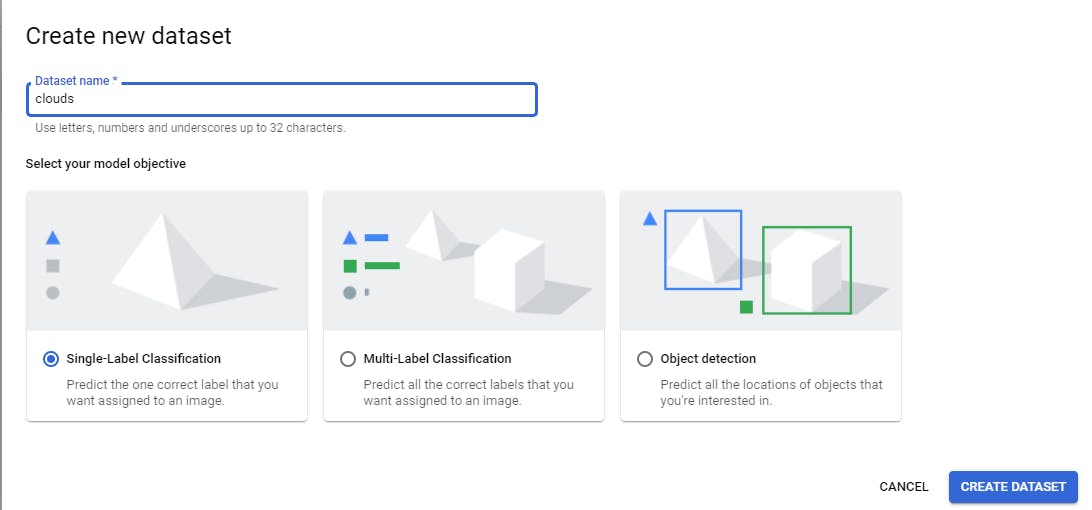
I clicked
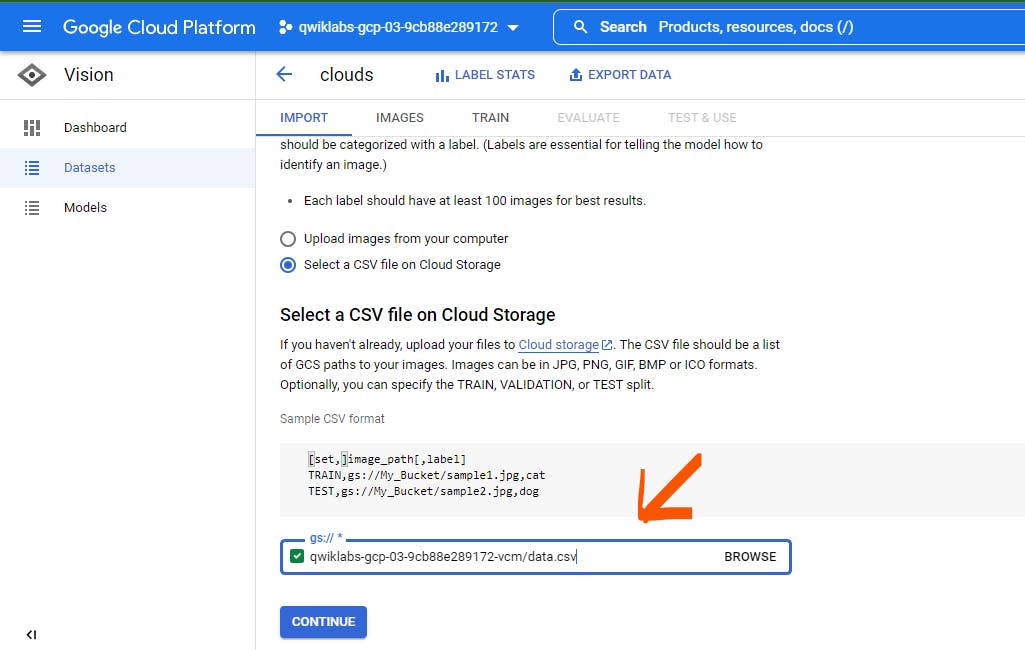
CREATE DATASET.I chose
Select a CSV file on Cloud Storageand added the file name to the URL for the file I just uploaded - gs://your-bucket-name/data.csv
Note: An easy way to get this link was to go back to the Cloud Console, click on the data.csv file and then, click on the copy icon in the URL field.
- After the import was completed, I then clicked on the Images tab to see the images I uploaded.
With the data downloaded, the next major step was to train my Machine Learning model. Luckily for me, AutoML Vision handled this for me automatically, without requiring me to write any of the model code.
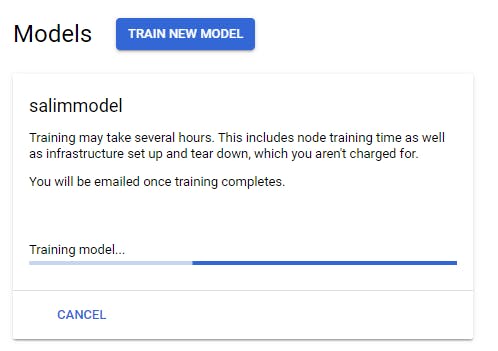
To train my clouds model, I naviagted to the
Traintab and clickedStart Training.I entered a name for my model. I named mine
salimmodel.Thereafter, I left Cloud-hosted selected and then click
Continue.I set the node hours to 8 as opposed the recommended 16 hours.
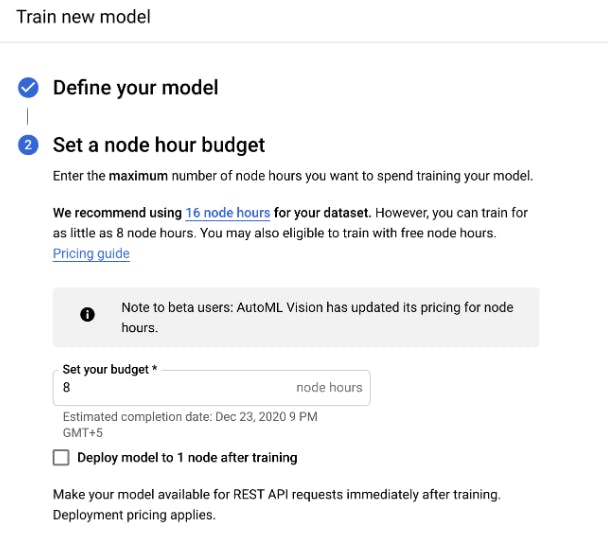
I clicked
Start Training.Lucky for me, it only took around twenty (20) minutes to complete. Perhaps because this is a small dataset.
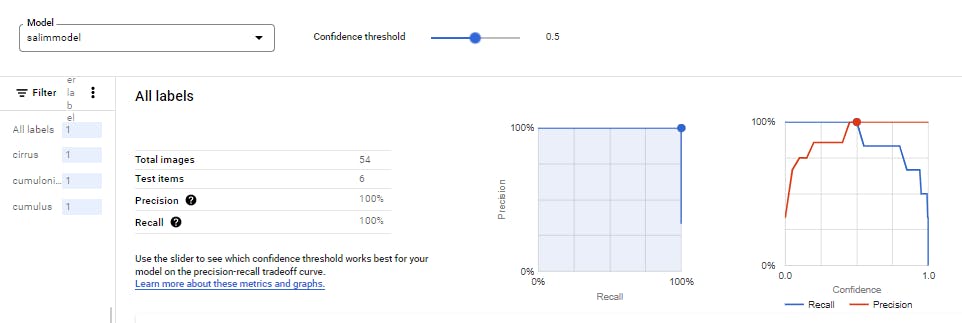
In the Evaluate tab, information about Precision and Recall of the model can be seen.
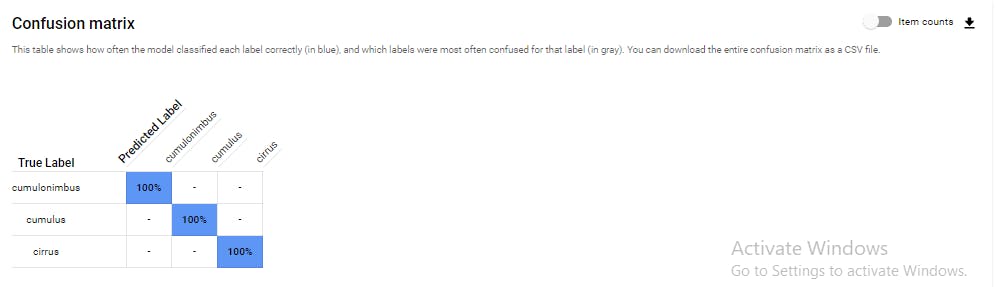
- Lastly, I scrolled down to take a look at the
Confusion matrix.
Now it's time for the most important part: generating predictions on your trained model using data it hasn't seen before i.e. deploy my Machine Learning model.
- I navigated to the Test & Use tab in the AutoML UI:

I clicked
Deploy modeland then clickedDeploy.This took around 15 minutes to deploy.
Then, I returned to the AutoML Vision UI, clicked
Upload Imagesand uploaded the clouds to the online prediction UI.
When the prediction request completed, I saw the screen shown below, signifying that the model had been trained and returned with an accuracy score of 95%.

TL;DR - Part 2;
Here is an abridged version on the steps I took.
I uploaded images to the AutoML UI
I uploaded a labeled dataset to Cloud Storage.
Connect the dataset to AutoML Vision with a CSV label file.
Train a model that will be immediately available on Google Cloud for generating predictions via an easy to use REST API, AutoML Vision
Evaluate the accuracy of the model.
Generate predictions on the trained model.
Yes, I just built a 95%-accuracy Machine Learning model without a single line of Machine Learning code or performing Feature Engineering.